2.28.2011

{vera who?}

simply vera is easily my favorite line at Kohls.
i loved this purse so much, but $59, no thanks
so i decided to make my own over the weekend
here's what i came up with...


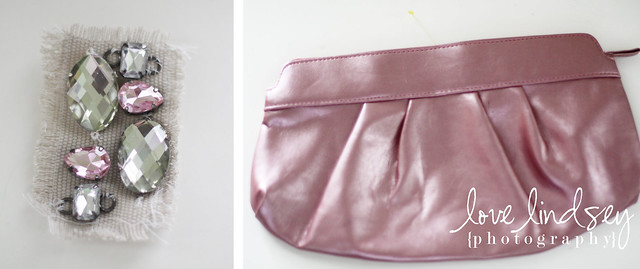
i found the purse at goodwill for $1.99
found a scrap of fabric and frayed the edges like the purse above
sewed the jewels on by hand, we already had them
and then glued the jewel/fabric piece onto the front of the purse
i actually like mine better than the one i originally saw
plus i can actually say i made it vs just bought it at the store
its unique & was super easy to make!


2.25.2011

{little assistant}

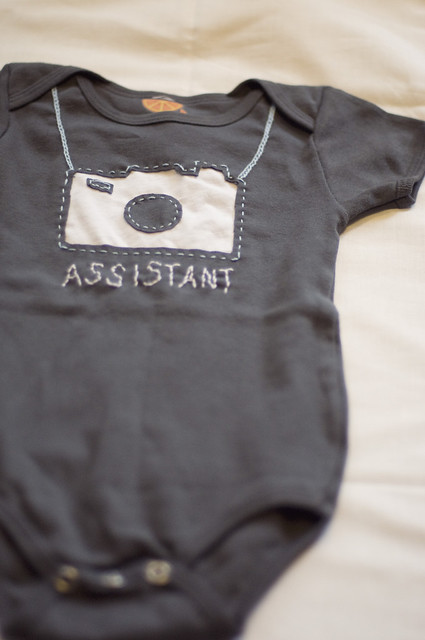
isn't this THE BEST little onesie you have ever seen?
i want it.
really hope this is still cute when i have babies. sigh.

made me this shop i found here.
originally seen on this blog.

2.24.2011

{two of a kind}


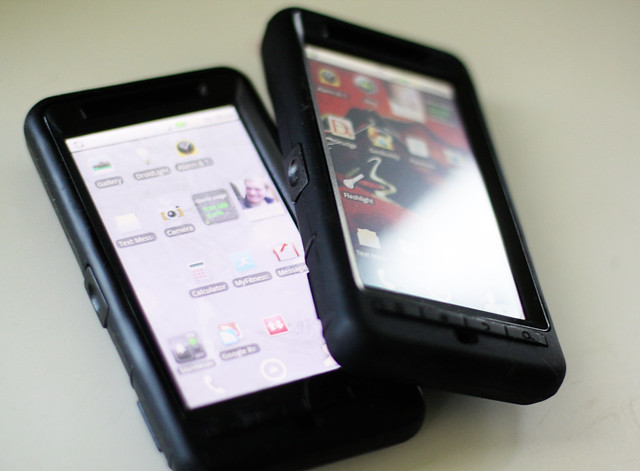
the boy recently got the same phone as me.

let's face it, he was jealous.

i forsee this causing lots of issues in the future.

two phones that look identical with identical cases. yeah, not good. see what i mean?

i just know one day we will end up with each others


2.22.2011

{sweet cheeks}

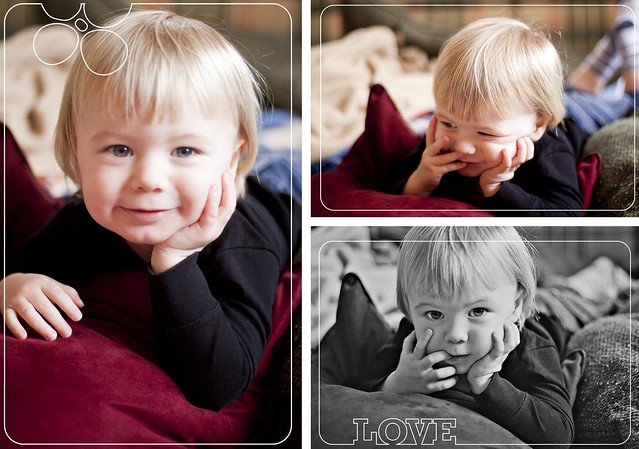
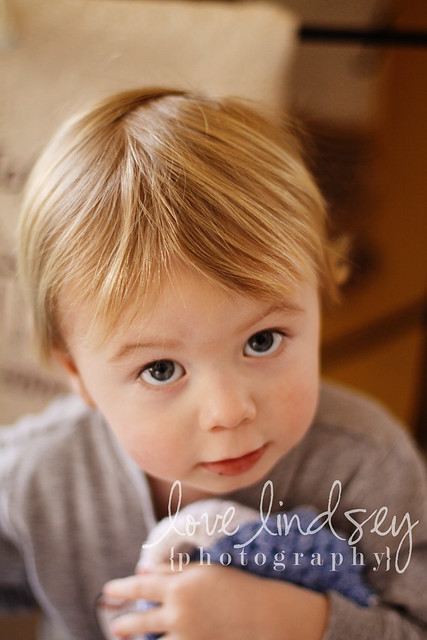
don't you wish you could just kiss those cheeks
welcome to my mondays & wednesdays

& no, i didn't tell him to pose like that.
don't you just want me to take photos of your kids like that? you know you do. go here.

2.20.2011

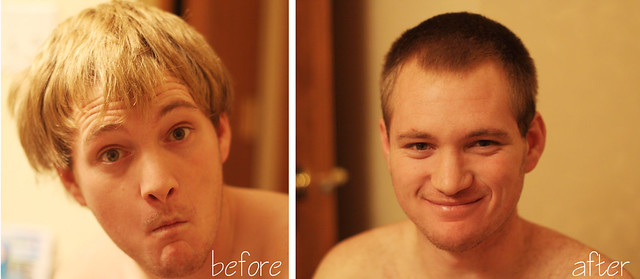
{lindsey's barber shop}

it took a lot of convincing before the boy let me come near his hair
but finally i just got too fed up with it looking like a helmet
in the end he was a pretty good sport about it
even with the fact that i had never even cut someone's hair before
but its just some buzzing, how hard could it be
easy as pie
and think of all the money he could save by me cutting his hair for him
pretty handsome right?

maybe i will open up a barber shop?
just kidding, i think i'll stick with photography

p.s. its hard to get a serious smile from him, hence the funny face in the before picture

2.17.2011

{lucky me}


how lucky am i to get to take a photography workshop in april with my FAVORITE photographers

i can hardly wait to meet the dynamic photography duo that makes up bobbi+mike

if you don't know them, you should. seriously. they are my favorite of all time.

i feel just like charlie winning the golden ticket to tour the chocolate factory.

chance. of. a. lifetime.

april, please come quickly.

photo taken inside their studio of work they have done. appeared in a mpix pro magazine ad.

2.14.2011

{happy valentine's day}

xoxo

2.13.2011

{welcome}

say hello to my new car
so excited about this little guy
name is yet to be decided
sad to see 'cooper the trooper' go but it was time...

2.07.2011

{zach & ashley}


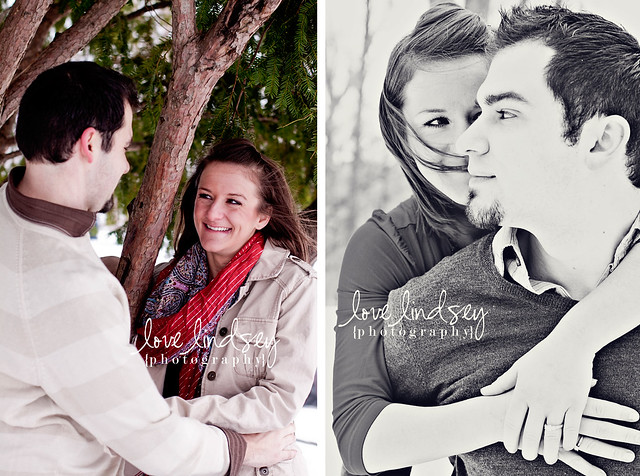
zach & ashley's long awaited engagement photos

2.03.2011

{baby blues}

2.02.2011

{package}

i gave the bracelet below away as a gift
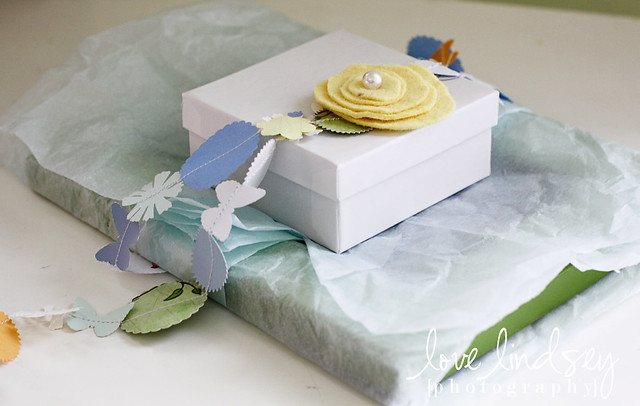
here's how i packaged it.
the flower is hand cut from felt and sewn together with a pearl on top

2.01.2011

{pearl & ribbon bracelet}


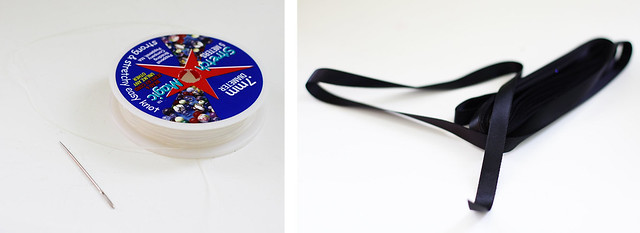
1st- gather your supplies. i wanted my bracelet to be stretchy, so the cord i sewed with was beading stretch magic. i used plain black ribbon i had on hand, and pearls (i had to put the pearls through the needle before hand to insure that they can fit through the widest part of the needle)

2nd- thread your needle with the stretch magic string.

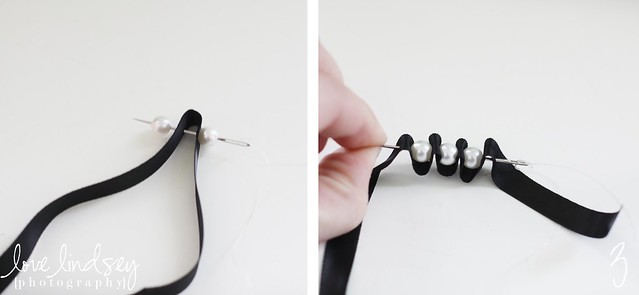
3rd- this is the main step (its just repeated the length of the bracelet)
string one pearl, then pinch together the ribbon and sew through the ribbon, then sew on another pearl.

notes: i tried to gather the same amount of ribbon each time to keep the bracelet looking consistent.

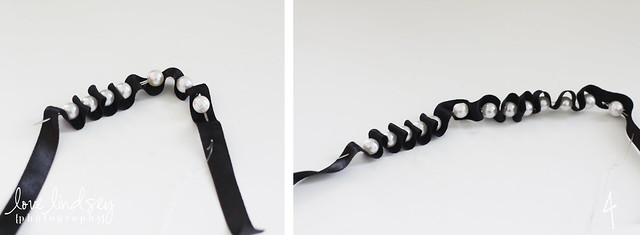
i found it easiest if i kept the most amount of pearls on my needle that i could.
once the needle gets full, i just slid the pearl off. (it should look like picture 4.

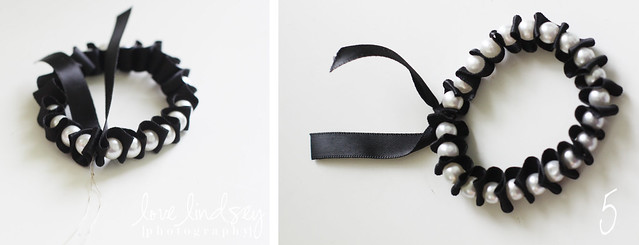
step 5- i tied the stretch (several times) i also recommend a dot of glue because my history with this string is that it comes untied fairly easy.

step 6- tie the ribbon (you could cut it off, leave some and knot it, or make a bow)
hint - try to decide what you want to do with the black ribbon at the beginning so you know how much to leave before you start sewing it.

happy beading!